TabShop Stock Management with Google Sheets
One of the challenges when running a business is to keep track of all the stock within your inventory and to regularly update stock numbers, add newly arrived products and to adapt product prices. While the TabShop app does offer various pages to modify and create new products and to restock existing inventory, it's pretty cumbersome to manage your stock directly on your mobile POS device. Even more so in case that you run multiple TabShop POS devices within your business that need to regularly sync the available stock and to report back all the sold stock items. TabShop offers multiple ways of syncing multiple POS TabShop devices with a central place (client/server, Docker server, Woocommerce, Google Sheets). It is up to your choice which one of those possibilities fits best to how you run your own business. In case that you already use Google Sheets for reporting purposes and you are already a frequent user of the Google Suite, you will like the TabShop to Google Sheets integration that is described in the following sections.
Easy Back Office Stock Management with Google Sheets
Google Sheets offers a lightweight and extremely convenient way of doing spreadsheets directly on top of your Google Drive and within your browser. By using your browser you can access and manage your stock and inventory from everywhere. TabShop offers a direct integration with Google Sheets that offers following functionality:
- Multiple TabShop devices can connect to a shared Google Sheet.
- TabShop devices will regularly fetch the list of products, their descriptions and their inventory level from your Google Sheet.
- TabShop devices will automatically upload all the checked out invoices and invoice positions to your Google Sheet for the purpose of creating a sales report within your Google Sheet.
- TabShop devices will automatically decrease the stock level of products during the upload of checked out invoices.
Read the next sections to understand how to set up and use the TabShop Google Sheets integration.
How to connect TabShop to a Google Sheet?
The set up of Google Sheets integration starts with navigating to the settings page within one of your tabShop devices.
Then click on the 'Sync Settings' button to open the Google Sheets integration page.
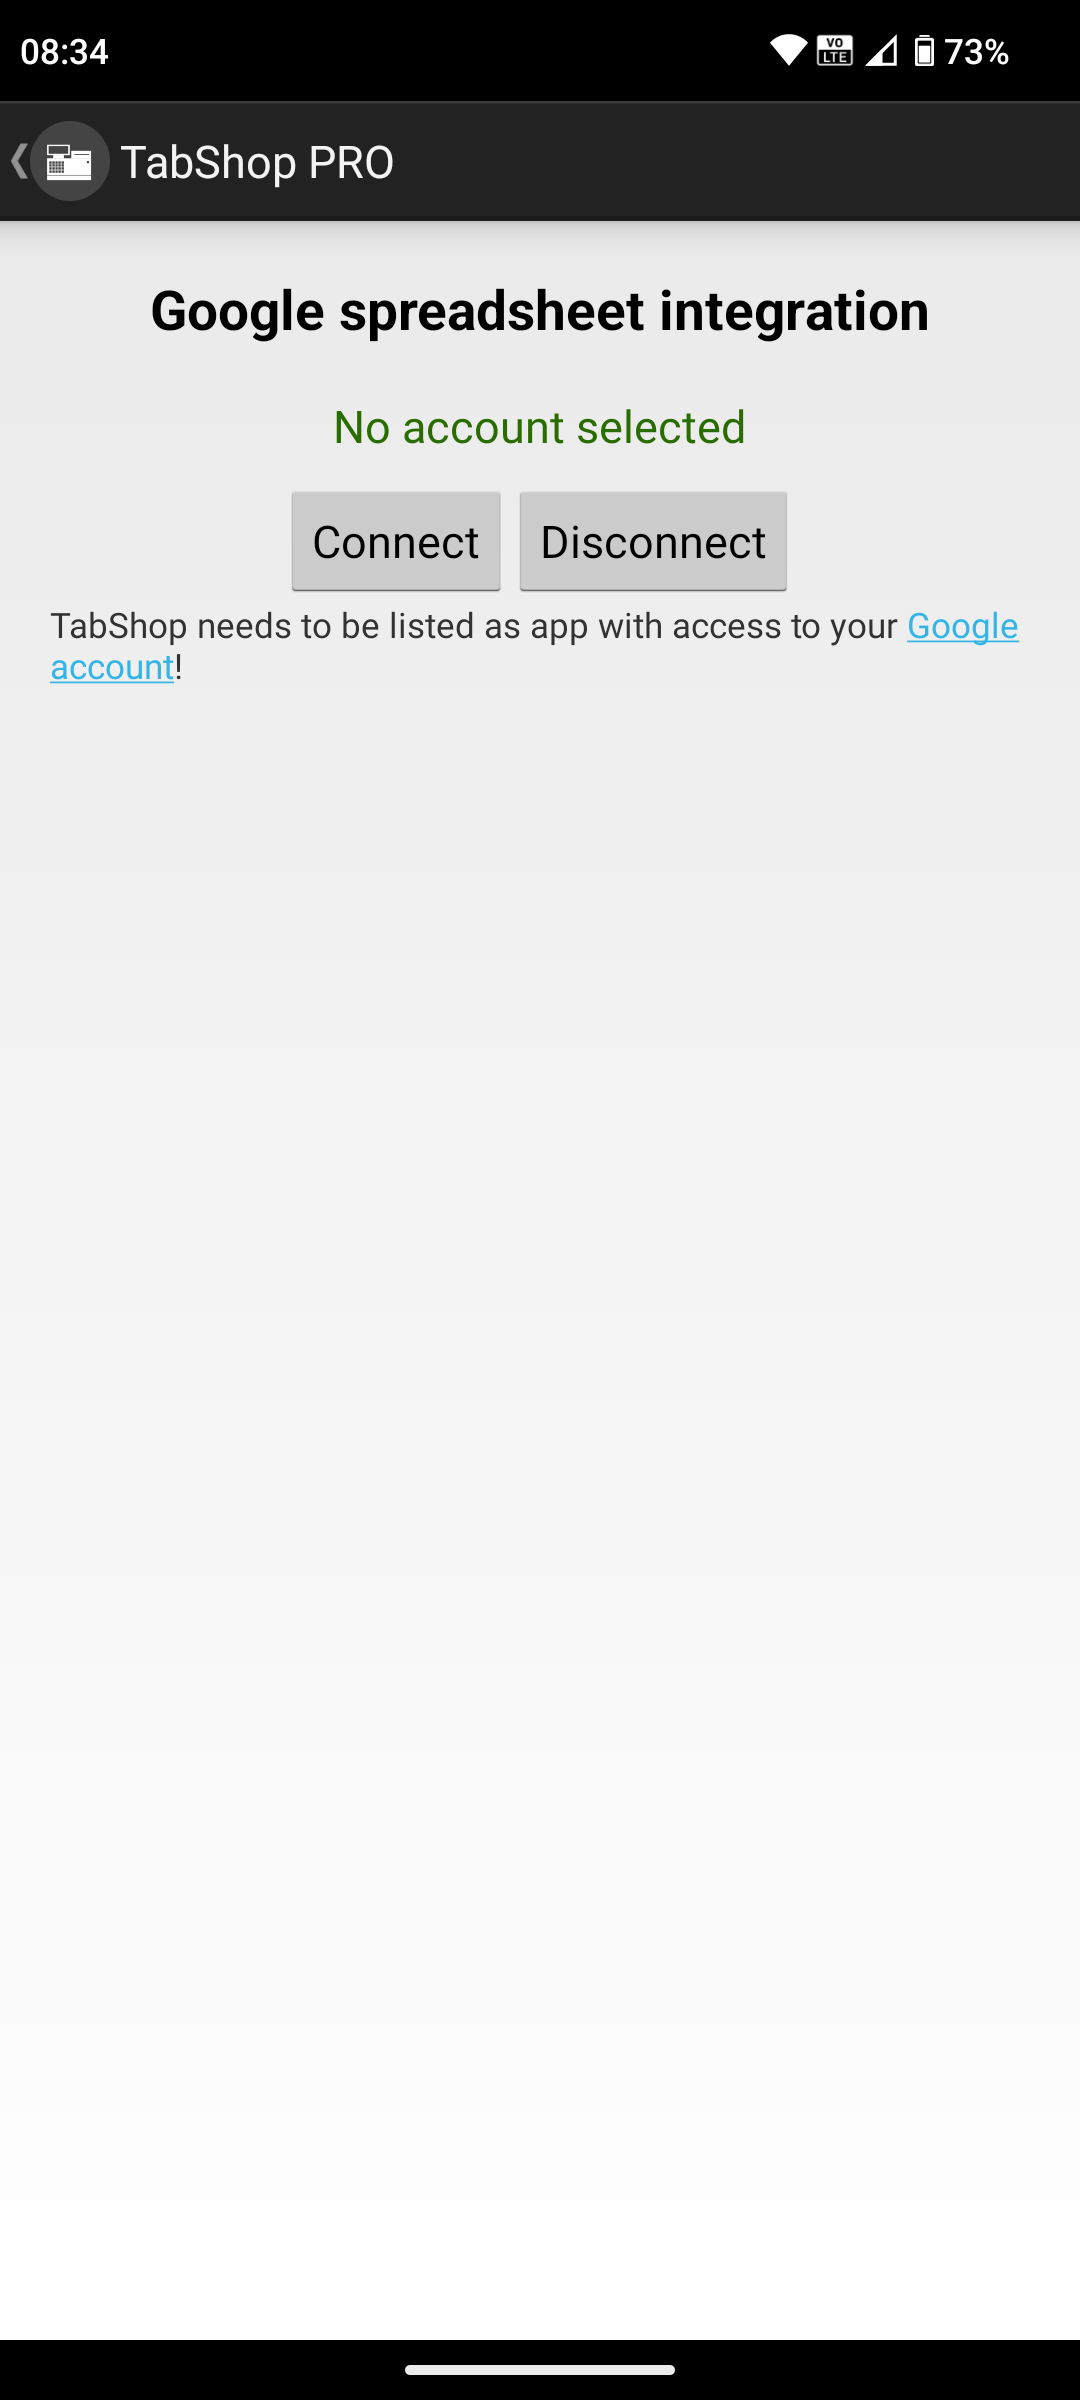
1. Connect your Google Account
The first step here is to connect your Google Account to allow TabShop to access your Google Sheets. When connecting your account, Android will ask you within the top screen bar if you allow TabShop access to your Google Sheets, which you need to accept. No worries, TabShop by definition is only allowed by Google to access Sheets that the TabShop app created within your Google Drive. TabShop is not allowed to access any other Sheets that might be present in your Google Drive, nor does TabShop even see and list those other Google Sheets. See below a screenshot of TabShop during the connection of my Google Account.
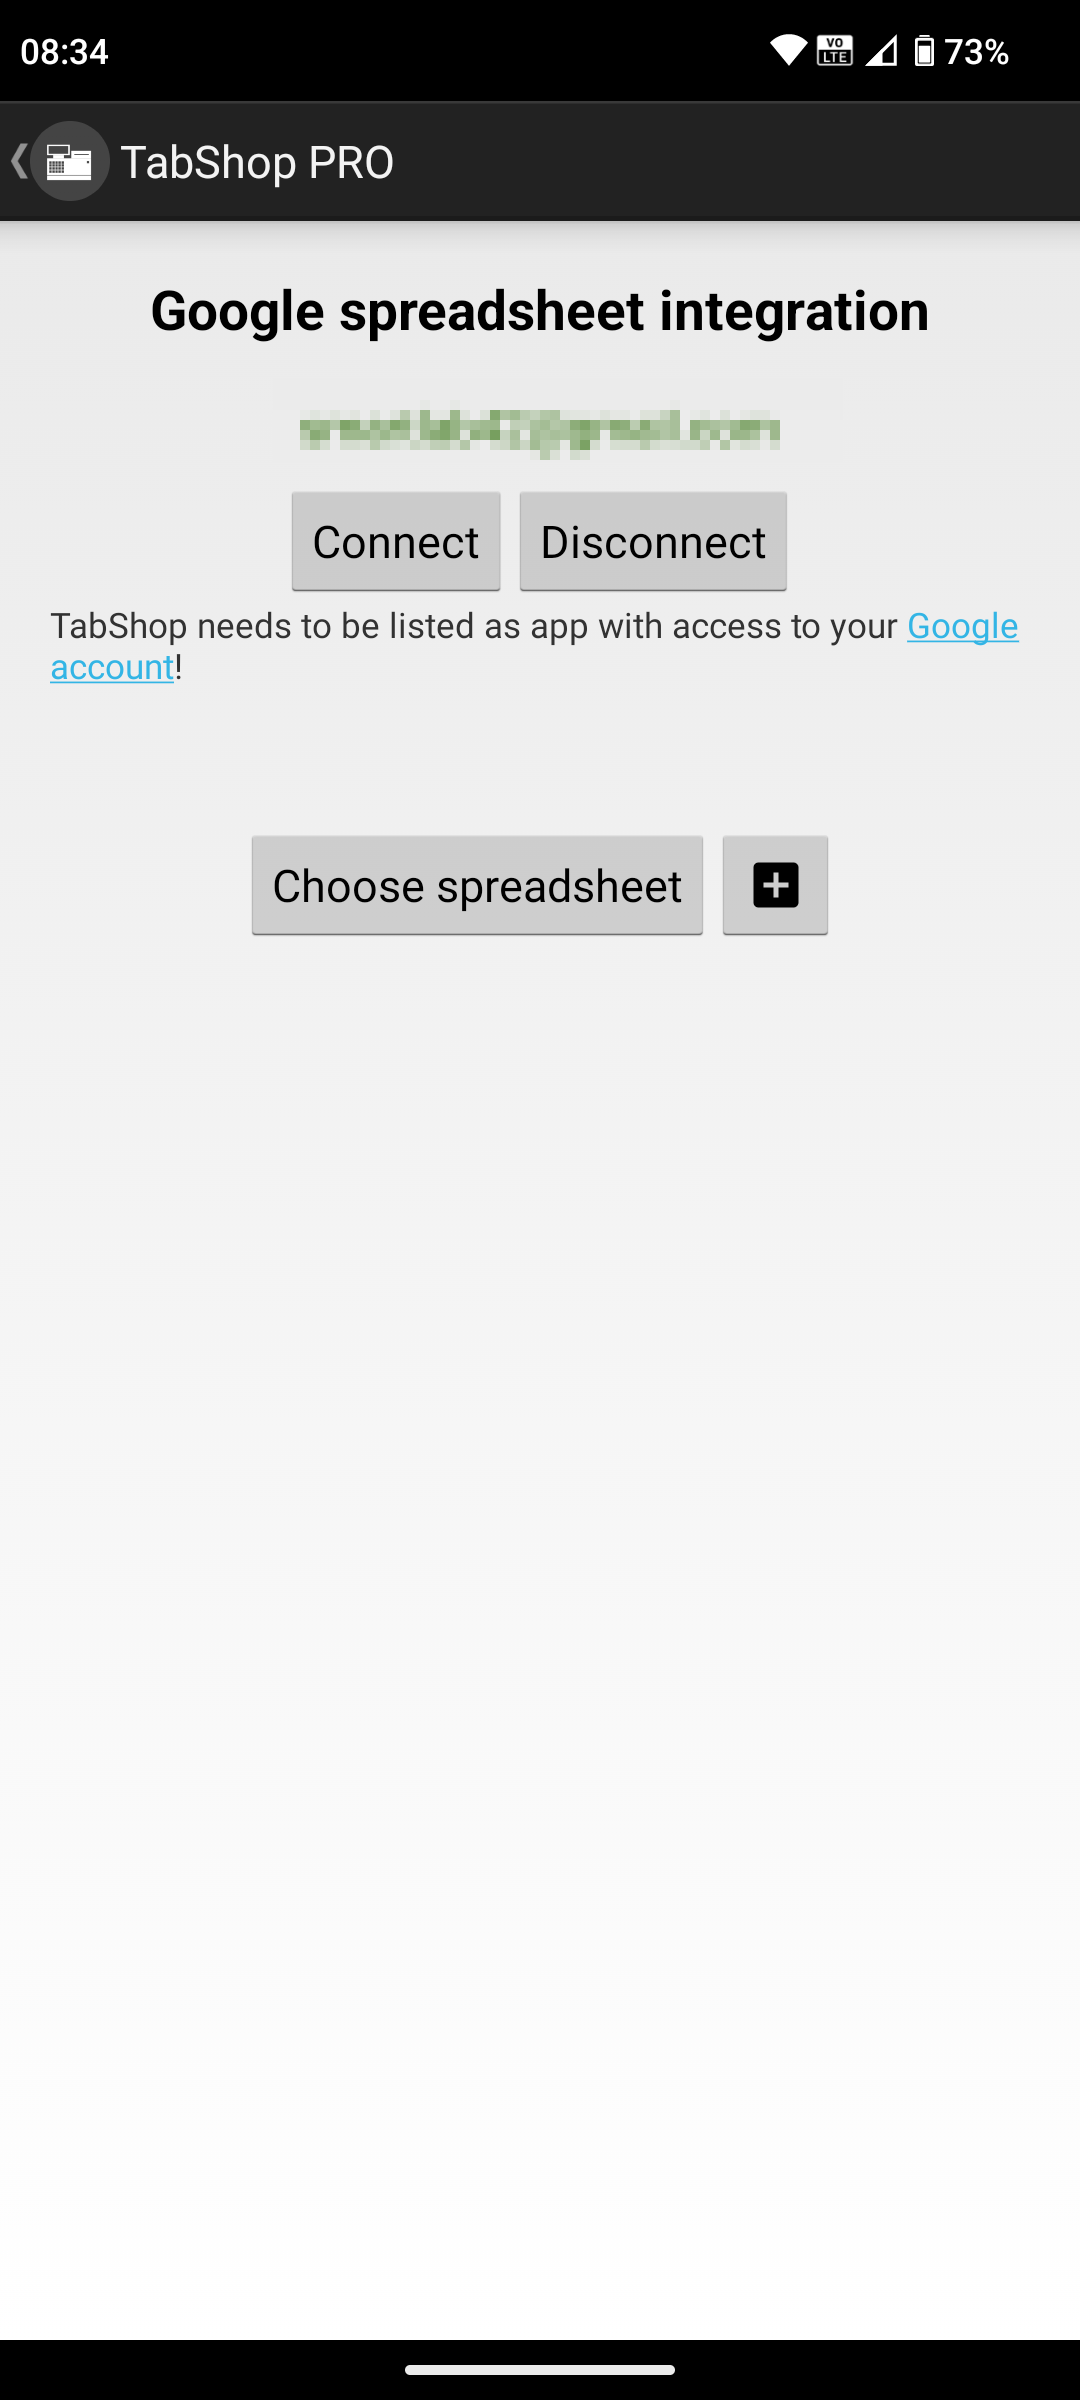
2. Create or select a Sheet
Now that you connected your Google Account, you need to click on the plus button to create a new Sheet. In case you already created a Sheet with TabShop, you can also switch between those Sheets by selecting different Google Sheets, as it is shown below:
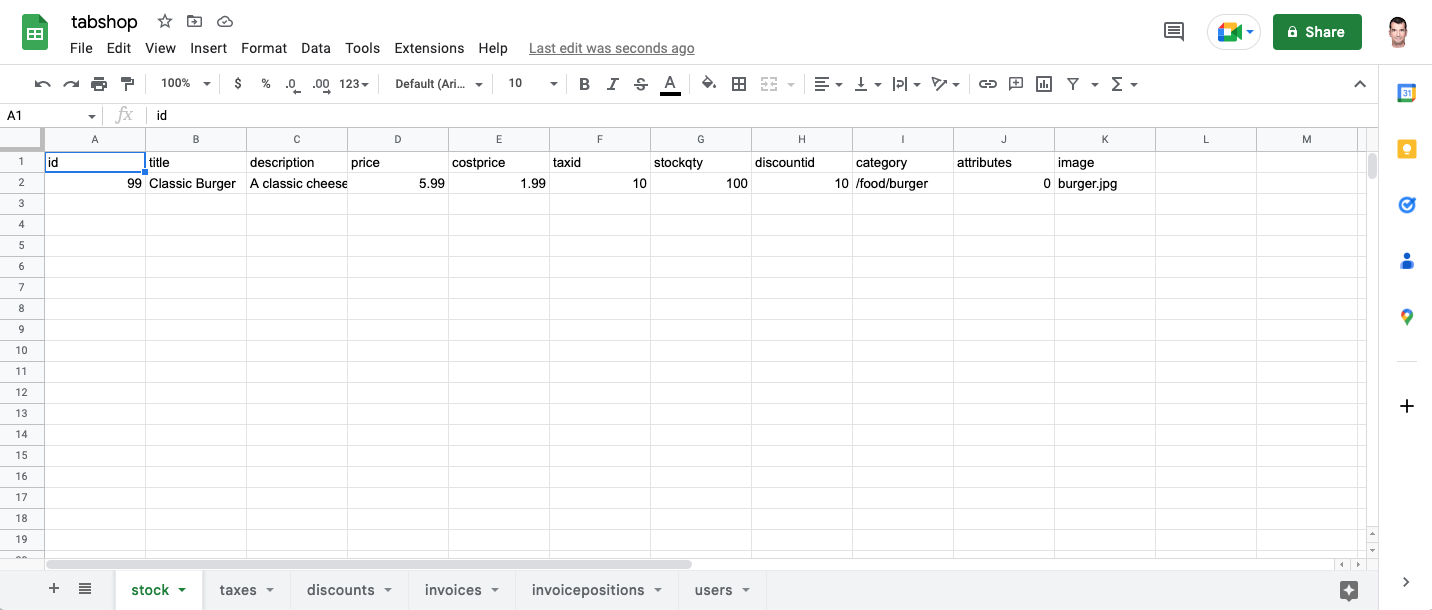
Mind that TabShop automatically initializes newly created Sheets with the necessary structure, such as adding the stock and invoice pages and adding some example products so that it is easier for you to add new products by using those examples.
See the initialized sheet below:
3. First time sync your inventory
Now with the new sheet in place, you can click on the sync stock button to trigger a manual sync of the stock. All products that are present in the Google Sheet will be downloaded to the connected TabShop device.
4. Automatically upload all invoices to your Sheet
If you tick the checkbox 'Automatic invoice sync', TabShop will try to upload newly created invoices and all invoice positions to your connected sheet.
Some notes
TabShop relies on the structure and naming of the Google Sheet, if you change it TabShop will no longer be able to sync. Make sure that you just add product rows within the products page.
The product image column can contain any URL that TabShop can publicly access to load the product image.